Glittery Donut Decorating!

On Day 13 of Advent, Vicky (aka queen of the donuts!) is showing off her incredible icing skills by making donuts, Tatty-style! Inspired by our sparkling jewellery, read on to follow her handy tips for donut success and impress your friends with these glittering treats...

Hey everyone! I’m Vicky and I just LOVE this time of year! Not just because I can experiment with lots of wintery flavours like cinnamon, nutmeg and cloves, but also because I can make the prettiest, most-glittery donuts! Taking a look through Tatty Devine’s jewellery gave me the idea to recreate their Glitter Heart Brooch and Shooting Star Necklace in donut-form. And here’s how you can do it...

What you’ll need: Heart and star shaped donuts (you can find my recipe here!), red food colour gel, gold edible paint, edible gold glitter. For the ‘eggnog’ icing - 375g icing sugar, 40ml whole milk, 1/2 tsp vanilla bean paste, 1/3 tsp cinnamon, 1/4 tsp nutmeg.
1. Place the icing sugar, vanilla bean paste, cinnamon, nutmeg and half of the milk into a bowl and stir. Gradually add the rest of the milk while mixing until you end up with a smooth mixture.

2. Divide the icing into two bowls - one for the star donuts and one for the heart donuts.
3. Using a cocktail stick, dab a little red food colour into one of the icing bowls and mix to get a deep red colour.
4. Pick up a heart donut and place carefully into the red icing, covering one surface of the donut. Gently lift out the donut, being very patient so that it doesn’t fall apart in your hand!

5. Repeat this for all of the heart donuts, making sure to stir the icing in between each dunk (the icing in the bowl forms a skin on top very quickly which can cause patchy glazing - a big no no). Leave those to dry and in the meantime, we can ice our stars.
6. Give the white icing a good mix and dunk in the star donuts using the same process as above. The icing will be white for now, but we’re going to paint them in edible gold paint later.
7. Once left to dry (this will take around 10 minutes as long as your kitchen isn’t too warm), grab a clean paint brush and paint the white icing with the shimmery gold paint. Leave that to dry for around 10 minutes again and then we can start with our edible glitter dusting - my fave bit!

8. Grab a clean paintbrush and dab it into your pot of edible glitter, then hold the paintbrush over the donuts and give it lots of quick taps to make the glitter fall and cover the surface of each donut.
9. Once you’ve done the stars, move on to the the hearts and repeat process. Et voila! Beautiful glittery donuts to match your Tatty jewellery - what a dream!
VICKY’S TOP TIPS FOR DONUT SUCCESS: - Give yourself enough time to do these right - baking should be fun! And that little bit of extra time to perfect those details makes all the difference. Stick Home Alone on in the background, make yourself some Christmas tea and enjoy!
- If you find that the icing is dripping over the sides a little, use a cocktail stick to scrape around the edges, holding the donut over the bowl of icing to catch the excess.
- You don’t have to use vanilla bean paste if you can’t find it, vanilla extract is also fine to use. Just don’t use vanilla essence - it’s yucky stuff.
Need some more donut inspiration? Here are some of our favourite of Vicky’s designs!

Vicky will be a KERB West India Quay on 14th December and KERB King's X on 15th December and if you fancy something bespoke for Christmas you can order designs right up until 23rd December!

Will you be making your own glittery donuts? Show us your creations on Twitter!
Find us on: Facebook | Instagram | Twitter | Pinterest | Tumblr
Related articles
A New Era for Tatty Devine in Covent Garden
Despite trying everything in our powe...

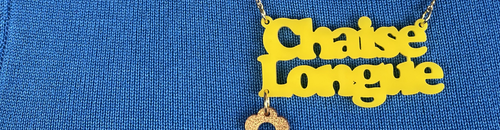
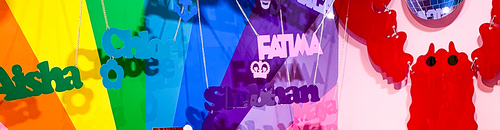
SIX Ways To Style: Name Necklaces
With over 30 colours, 5 fonts and an abundance of super cute charms, the original Tatty...