
Blog
Filter by topic

May 03, 2025
They're Back: Eyelash Sunglasses
You fluttered your eyelashes and made this happen: the l...


April 06, 2025
SS25: Inside The Sketchbook
From pencil-on-paper drawings, to your jewellery collection: join us...
March 30, 2025
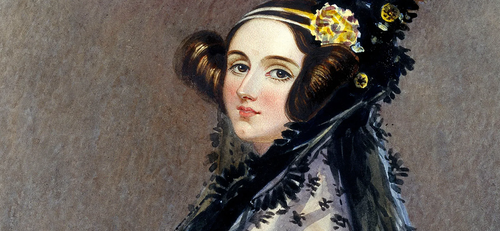
A Chat With: Grayson Perry
Sit down with renowned British artist, Grayson Perry as ...

March 18, 2025
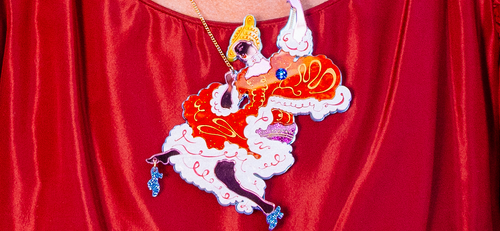
Tatty Devine X Grayson Perry
Introducing Tatty Devine x Grayson Perry; a dream jewell...

March 10, 2025
Last-minute Mother's Day gifts: under £50!

February 27, 2025
SS25's Library Of Us: Chapter One
Get ready to glimpse inside the minds, hearts and most treasur...

February 18, 2025
Tatty Devine's Guide To Springtime Style

January 29, 2025
Cherry-coloured fun!

January 24, 2025
Joyful Jewellery For January

January 17, 2025
Sew In Love

January 07, 2025
Valentine's Day Gifts

December 31, 2024
A Tatty Devine 2024
December 10, 2024